
PelatihanMikrokontroller
15 Januari 2011
Microcontroller Kits
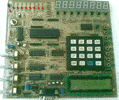
Programmer and Target 89s51
Simple Mikrokontroller 89s51 Trainer
Standart
Mikrokontroller 89s51 Trainer
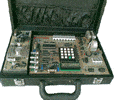
Super Mikrokontroller Trainer 89s51
All Kits
Include
BACKNEXT
After determining if the device can be programmed or not, it is time to load the program that you wish to encode onto the chip into the software. The Atmel Microcontroller ISP Programming software can load in programs that are in the
Intel Hex file format.
To load in a program from disk:
1. Select Load Buffer from the File menu or click on the toolbar. You will see
a dialog similar to Figure 4.
.
Figure 5. Load Buffer Dialog
2. Select the HEX file that contains the program you wish to encode onto the chip and click Open.
File 6. Open file Hex dialog
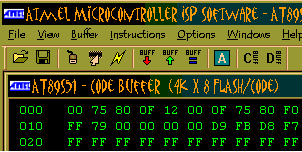
3. The buffers will then be updated with the contents of the hex

Figure 7. Update buffer data
4. Initialize Target
The Initialize Target command sets the device to programming mode. This is needed when swapping devices after already selecting the device in the Atmel ISP Software. Additionally, it is needed when setting the device out of run mode. This command can also be activated by clicking on the toolbar.
Figure 8. Initialiazed Device
5. Programming the Device
Once the program has been loaded into the buffer(s) the most straightforward way to program the device is to select Auto Program from the Instructions menu (You can also press on the toolbar). Auto program performs all of the most common tasks done when programming a device.
Figure 9. Auto Programming sub menu
Auto programming performs the following commands:
• Erases the device
• Writes out buffer(s) to the device
• Verifies programmed device with buffer contents
• Prompts user for lockbit settings (if supported by device)
• Prompts user for fusebit settings (if supported by device)
After selecting Auto Program you should see a progress dialog similar to the one
shown in Figure 10.
Figure 10 Progress Dialog
Comments, questions and discussion about this topic
BACKNEXT